Running a business means you need email you can trust. OX App Suite gives you professional, ad-free email with the power to keep your business moving.
Here’s why businesses in South Africa trust OX App Suite:

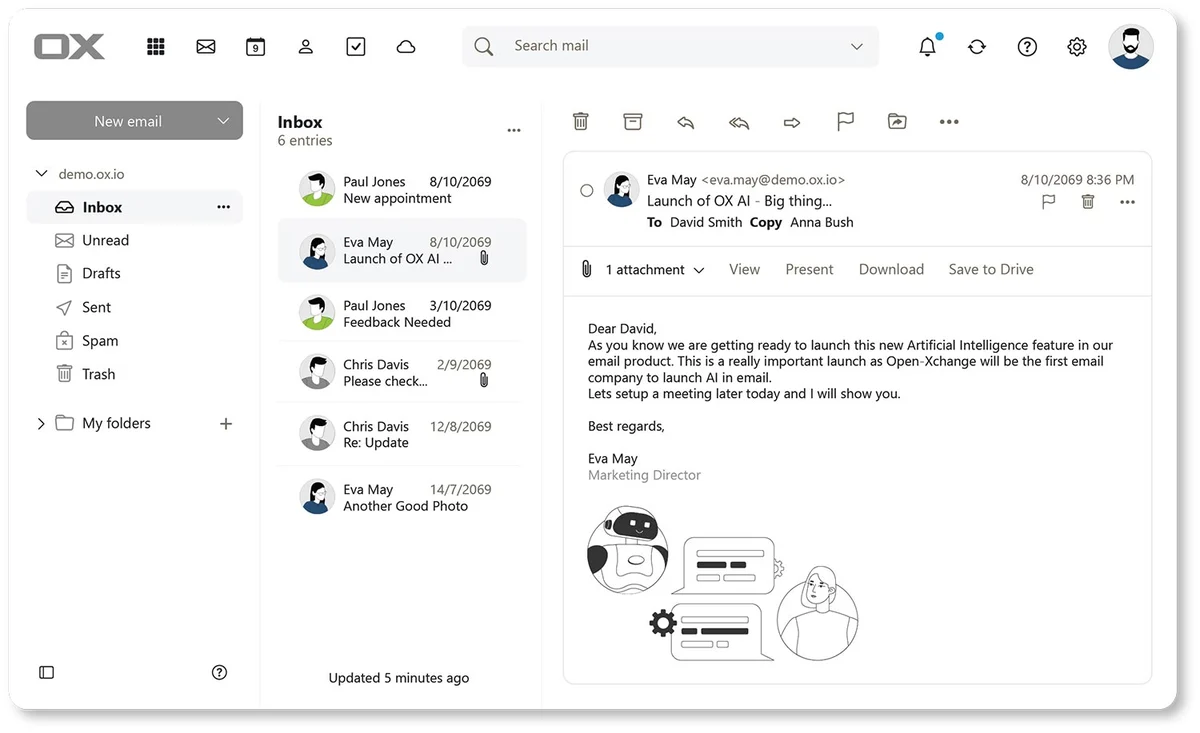
Smart filters and intuitive email organisation.
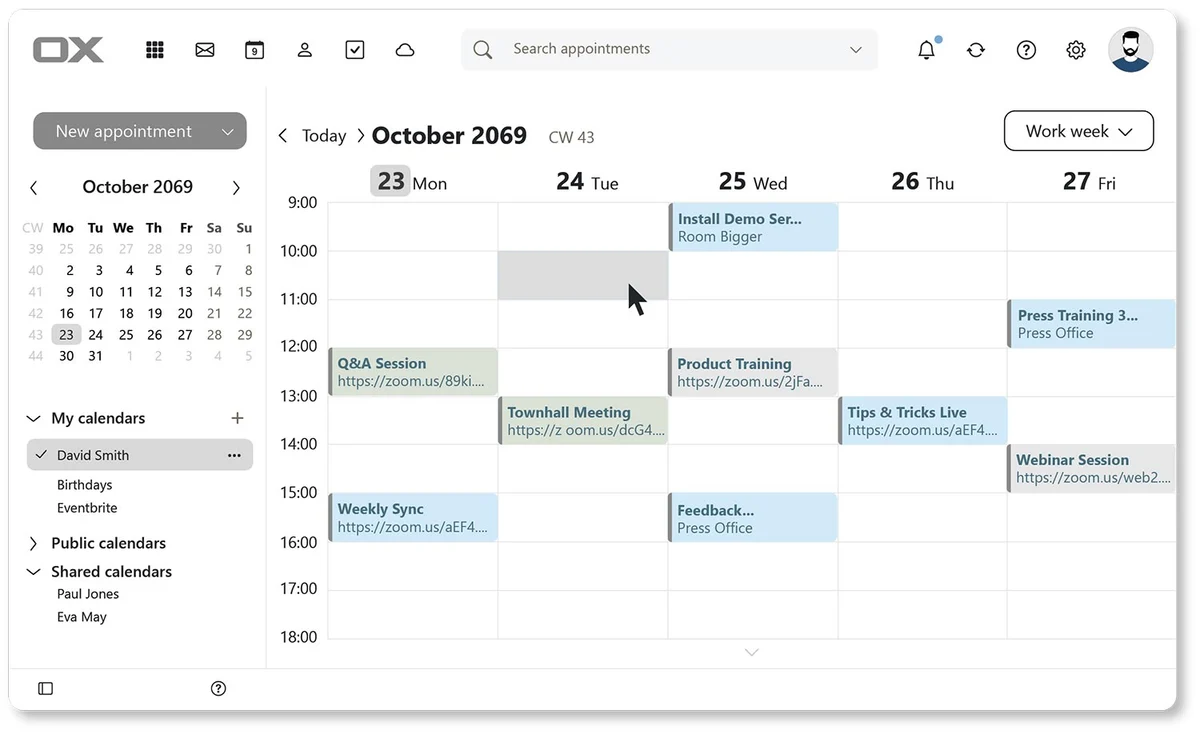
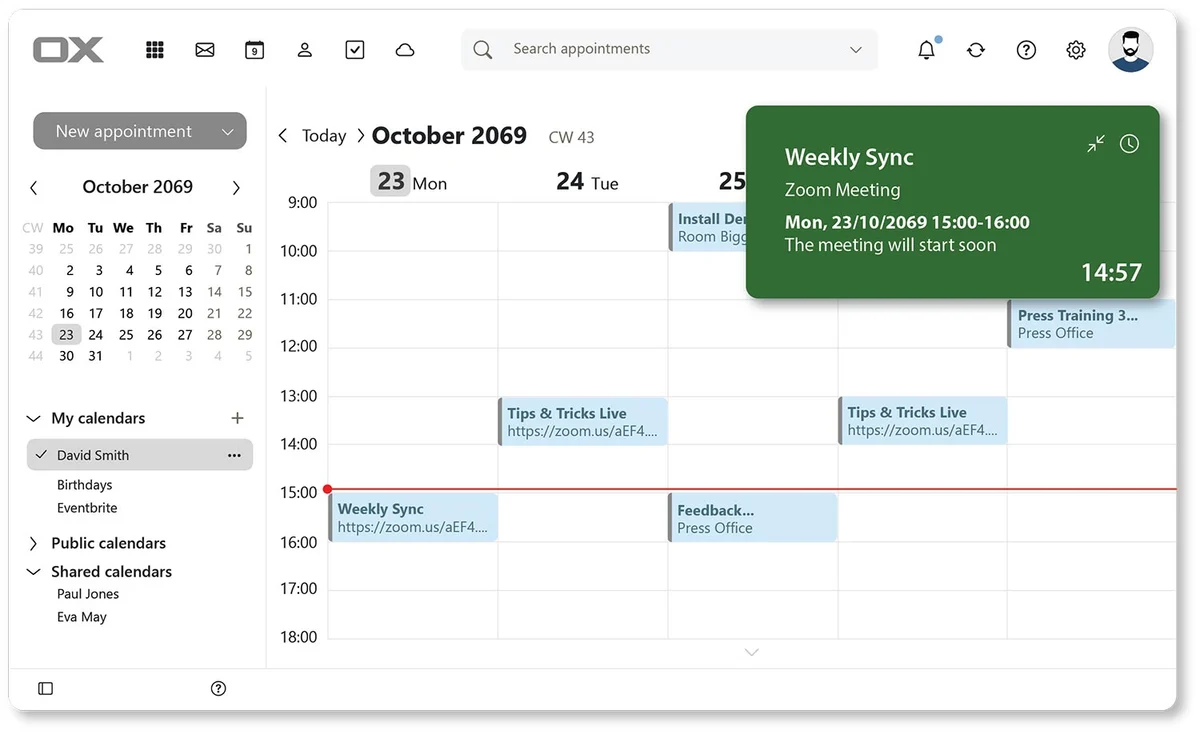
Sync your calendar, appointments, and reminders.
Secure cloud storage for your documents.
Task and project management tools.
Real-time collaboration on shared documents and spreadsheets.
Instant messaging and group chats.
Mobile-friendly access from any device.
Built-in encryption and advanced security.
Customisable user experience to match your workflow.
Seamless integration with Google Drive, Microsoft Office, and more.
The IDS OX App Suite offers core features designed to streamline communication and collaboration. It includes:
99.9% Uptime SLA for reliability
Premium Anti-Virus & Anti-Spam for security
Custom email addresses like email@your-domain.com
10GB Mailbox Size with Full-Featured Webmail
Access from Mobile & Desktop via IMAP
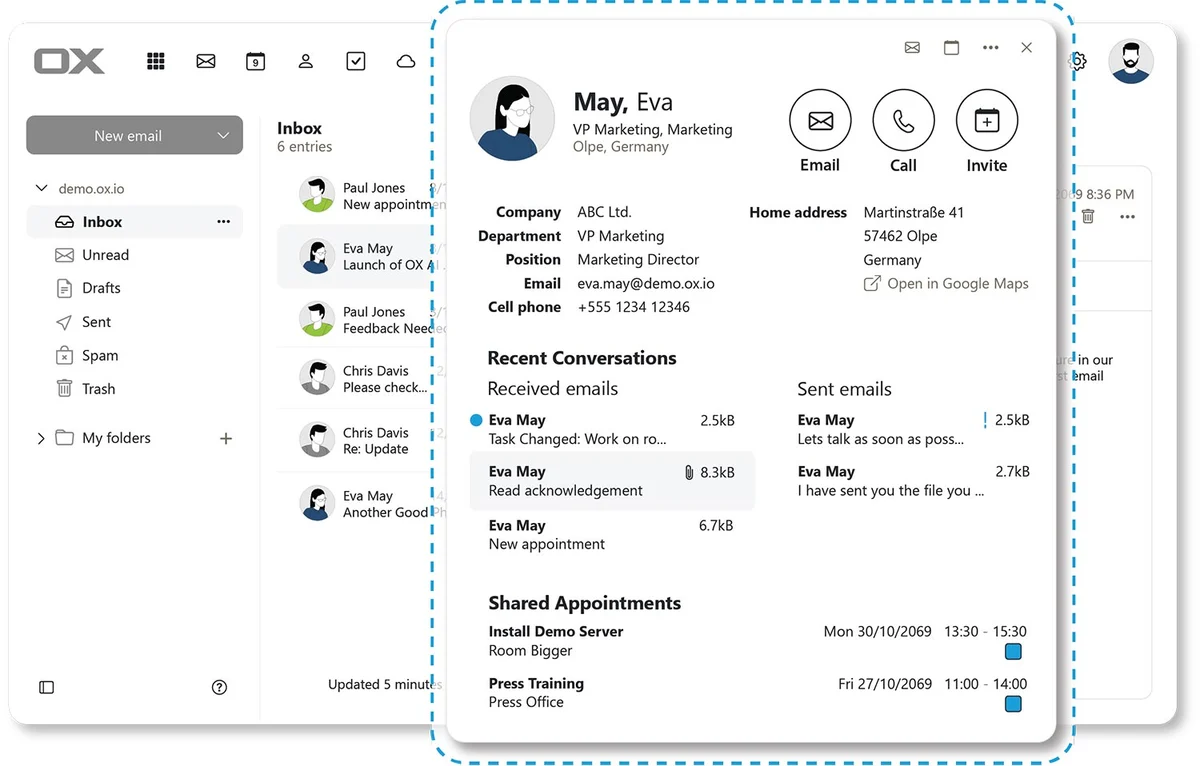
Shared Calendars, Contacts, and Tasks to keep everyone connected
CardDAV & CalDAV integration for syncing data
Self-Service Migration Tool to easily transfer data to the new platform
The IDS OX App Suite + Productivity version goes a step further by adding productivity tools to enhance your business efficiency. It includes everything from the base suite, plus:
25GB Mailbox Size for even more storage
Cloud File Storage with 25GB to save and share documents
An Online Office Suite to create and edit Word Docs, Spreadsheets, and PowerPoint Presentations directly within the platform
The ability to edit and manage documents in real-time, making collaboration easier
In short, the IDS OX App Suite + Productivity is perfect for businesses needing not just communication and organization tools, but also integrated productivity tools to create, edit, and store documents, spreadsheets, and presentations. The base version covers essential email and calendar functions, while the productivity suite adds more advanced features for a complete business solution.
Email: 10Gb Space
Self-Service Migration Tool
Get started with the IDS OX App Suite and enjoy unbeatable reliability with a 99.9% uptime SLA. Benefit from premium anti-virus and anti-spam protection, custom email addresses, and 10GB mailboxes. Access emails on mobile and desktop, manage calendars and tasks, and streamline migration with our self-service tool.
Email and Storage: 50Gb
Full Cloud File Storage
Unlock seamless productivity with IDS OX App Suite! Enjoy 99.9% uptime, premium anti-virus protection, and 25GB mailboxes. Access emails, calendars, contacts, and tasks across devices. Plus, benefit from cloud file storage, online office suite, and powerful tools to create/edit Word docs, spreadsheets, and PowerPoint presentations—all in one platform.
How to manage your OX App Suites:
Once the suite has been created, the account holder (and any additional users added) can manage the Suite from within the IDS client area. Here, users and email accounts are created, passwords can be added or updated, and aliases can be added if required. Access to the OX App Suite can also be done from here.
Can I login to my OX App suite via a link?
Yes – access to your Suite can be done via a link as well as through the IDS client area. The link is: https://us.appsuite.cloud/. Simply insert your email address and email password to log in.
Can I use OX App Suite with Outlook and my phone?
Yes, you can connect OX App Suite to Outlook, Apple Mail, and your mobile devices. Your email, calendar, and contacts will sync across all your devices seamlessly.
How much email space do I get with OX App Suite?
The standard OX App Suite plan includes 10GB per mailbox, while the Productivity plan offers 25GB mailboxes plus 50GB of cloud file storage.
Is my email secure with OX App Suite?
Yes, your email is protected with premium anti-virus and anti-spam filtering, SSL encryption, and secure data centres, ensuring your data remains safe.
Can I migrate from my current email easily?
Yes, we provide a self-service migration tool to move your existing emails into OX App Suite with ease, or we can assist you if you prefer.
Do I need to be technical to use OX App Suite?
Not at all. OX App Suite has a clean, user-friendly interface, and our local support team is here to help if you need any assistance.
Can I access my emails via my own mail client?
You can access your emails both through your Suite panel and on any number of devices that have a mail client installed.
What settings are used in my DNS to point my own domain to my Suite?:
If your DNS is with IDS or hosted by IDS, we will update it for you. If not, here are the email settings required for your email accounts to work:
The MX records will be:
| Name/Host/Alias | Time to live (TTL) | Record Type | Priority | Value/Answer/Destination |
|---|---|---|---|---|
| @ or leave blank | 3600 | MX | 10 | mx001.cloudus.rs.oxcs.net |
| @ or leave blank | 3600 | MX | 10 | mx002.cloudus.rs.oxcs.net |
| @ or leave blank | 3600 | MX | 10 | mx003.cloudus.rs.oxcs.net |
| @ or leave blank | 3600 | MX | 10 | mx004.cloudus.rs.oxcs.net |
The SPF record will be:
| Name/Host/Alias | Time to live (TTL) | Record Type | Value/Answer/Destination |
|---|---|---|---|
| @ or leave blank | 3600 | TXT | v=spf1 include:spf.cloudus.rs.oxcs.net ~all |
What if I need more space?
The space allocated to each email account in the Suite (10GB) and the space allocated to the Productivity account (50GB) are the maximum and cannot be increased. Should more space be required for cloud storage, another Cloud Suite can be purchased. For your email account(s), if more space is required, it’s recommended to archive your emails and then delete emails from the Suite. IDS Hosting offers an archiving package with unlimited space for R50/month/email account. Note in the productivity suite 25Gb is reserved for emails and 25Gb is allocated for data files.
How many email accounts can I have on my Suite?
Each user needs their own Suite. If you need 5 email accounts, for example then you need 5 Suites. However, you can include other email accounts in your Suite, such as Gmail, etc. To upgrade or add Suites, this can be done within the IDS client area under the Service OX App Suite. Simply click the upgrade button.
What settings are required to receive emails on my mobile or PC?
Here are the settings to set up your device manually. However, in most cases, it can be done automatically.
Account type: IMAP
Incoming mail server: imap.us.appsuite.cloud
Outgoing mail server: smtp.us.appsuite.cloud
Username: Full email address
Password: Password entered when the email was created in the IDS client area
Authentication: Outgoing server requires authentication, same as incoming
Encryption: Required, use SSL
Ports: Incoming (IMAP): 993, Outgoing (SMTP): 587 or 465
Can I connect my PC to my cloud storage and how?
Yes you can, from within your App Suite online, select the gear in the top right, select Connect your device and follow the prompts. For a Window's OS for example, you download the small file, you add the server link, it is provided, your email address and the email password. You will see a OX icon and folder appear in your File Manager.
Can I Share my Cloud folders?
Yes you can, you can share folders via emails addresses, with privacy and a full range of permission levels.
The recipient/s gets a link via their email, once clicked the relevant folder/s open in there browser.
Can I see a quick overview of OX App Suite?
Click this link for a quick overview
Click on the link to open the PDF file in your browser and download if required
Detailed information on your OX App Suite:
Click here to open the PDF file
Detailed information on the OX App Documents which is part of the Productivity Suite:
Click here to open the PDF file
Details information on your OX App Suite Cloud Storage included in the Productivity Suite:
Click here to open the PDF file